Important Update for iPhone Users: TURN OFF the “Find My” feature WHILE you are at home.

Apple has implemented a new feature called “Stolen Device Protection” for iPhones. If you are away from your familiar locations (home & work), for your protection Apple will implement a 1 hour delay to turn this feature off.

Without this feature off, you cannot turn off “Find My” which is required for us to be able to process Apple Repairs.

[NOTE: The “Stolen Device Protection” feature is found in Settings… FaceID & Passcode… Stolen Device Protection… ]

How to Turn OFF Apple’s “Find My” Feature
When your iPhone, iPad, iPod Touch, or Mac computer needs to be serviced, (whether under warranty or not) Apple requires Find my Device to be temporarily turned off. There are three simple ways to do this:

The first method is on the device itself (if it is still working well enough to do this).

The second method is with iCloud.com using a web browser (like Safari, Chrome or Firefox).

The third method is with the Find My App on another Apple device that is signed into your Apple ID.

Method 1: Use the Apple Device itself (if it still works)
iPhone or iPad
System Preferences for Mac and Settings for iOS Icon
On your iPhone or iPad go to:

1) Settings…

2) Your name…

3) Find My…

4) Turn OFF. Your device should ask for your Apple ID password to complete this step.

Note: Older iOS versions have the “Find My” setting inside of the iCloud Settings instead of it being its own Setting.

Mac
System Preferences for Mac and Settings for iOS Icon
On your Mac go to:

1) The  Apple Menu… and “System Preferences”…

2) Your name in the top row… (macOS Catalina or later)

*Note: Older macOS versions have a dedicated iCloud Preference Panel instead of Your Name at the top.

3) iCloud… (on the left column)

4) Find My… (scroll down to find this)

5) Turn OFF. The Mac should ask for your Apple ID password to complete this step.
Method 2: Use iCloud.com/find
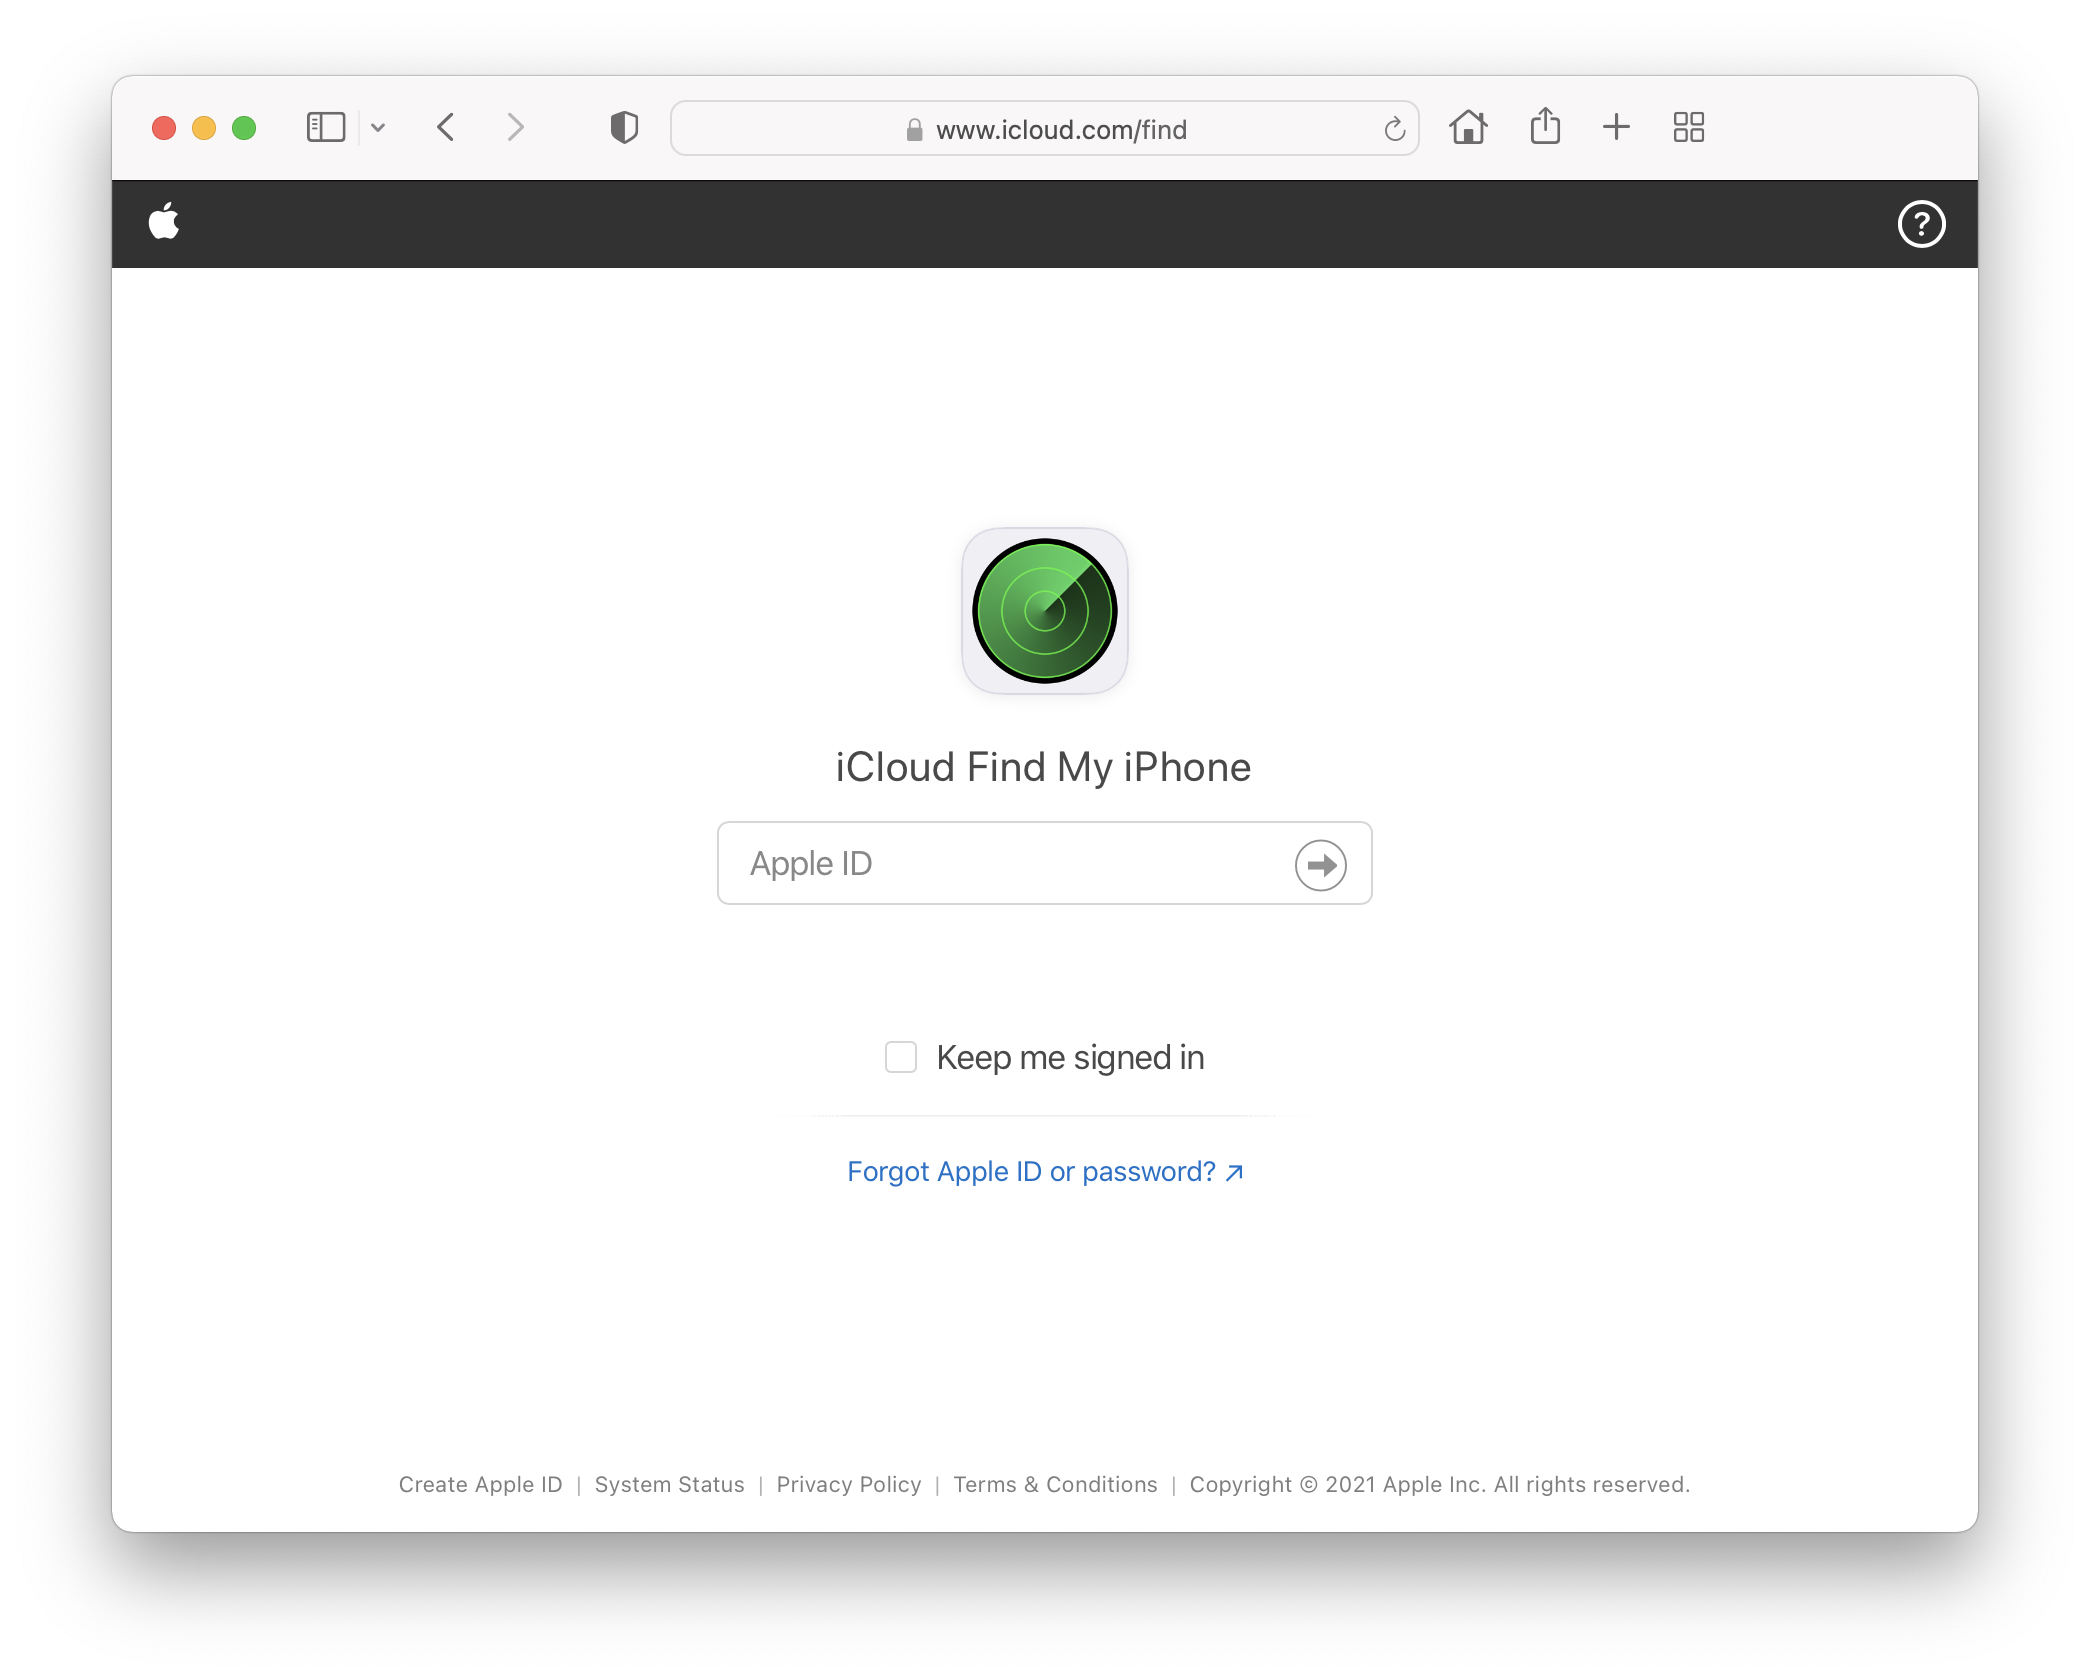
icloud.com/find sign in page
1) Go to icloud.com/find and sign in with your Apple ID
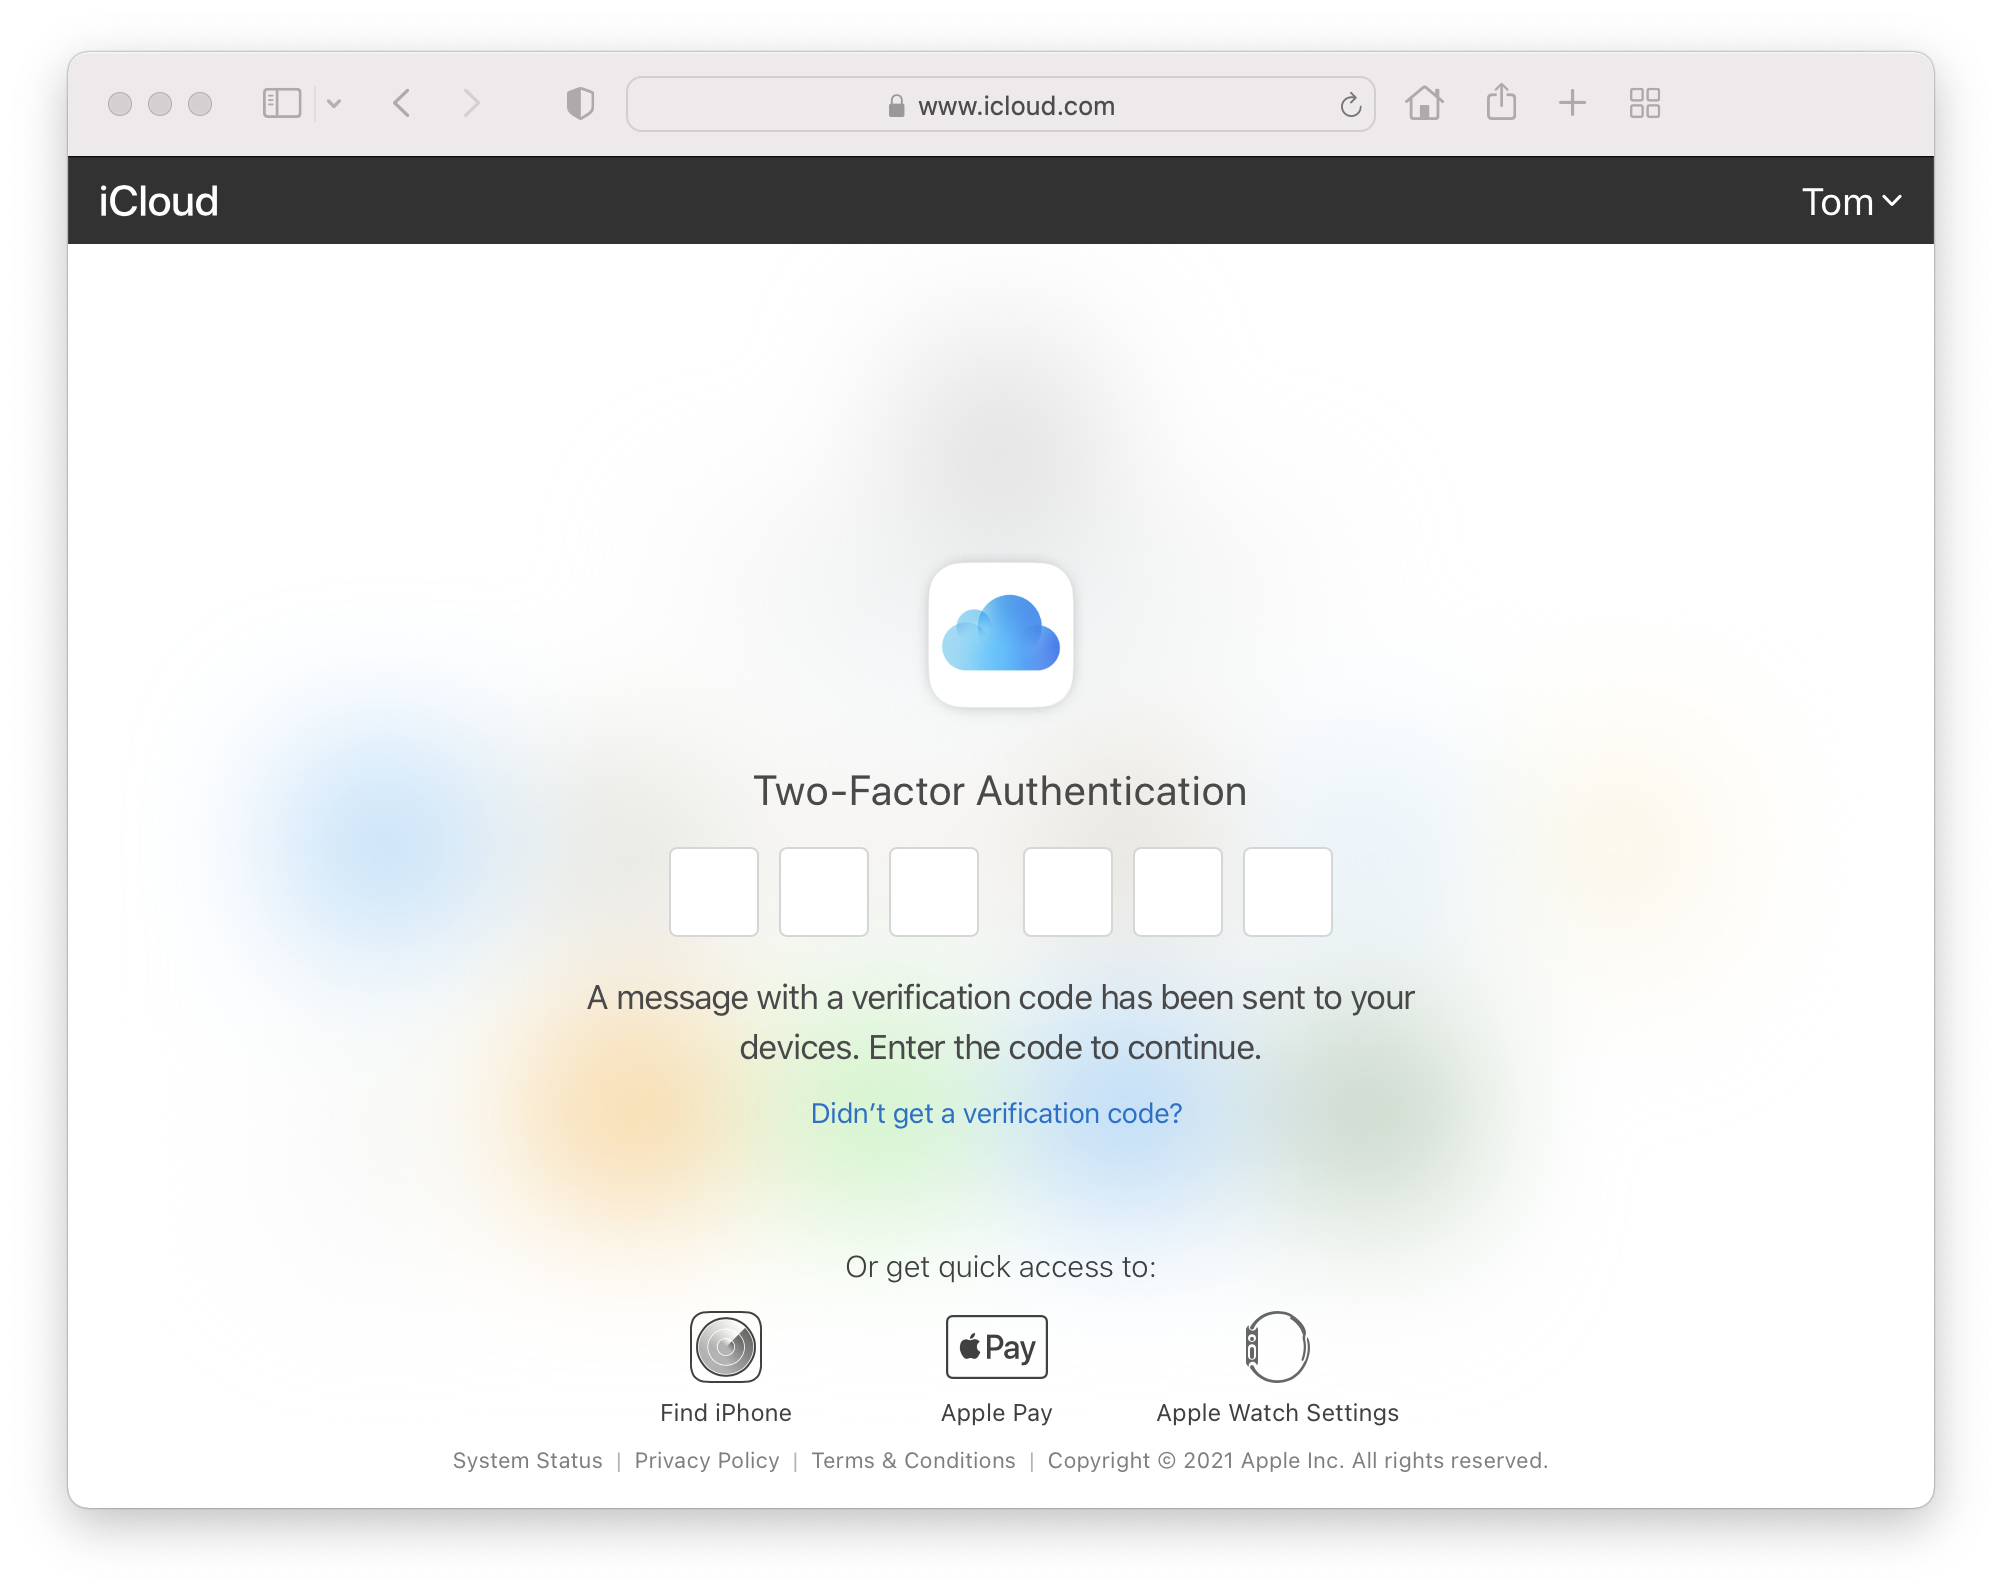
Two Factor Sign in on iCloud
2) IF you have 2-Factor Authentication turned on, you will be asked to enter the code that was sent to one of you Apple Devices or sent to an approved Phone Number.
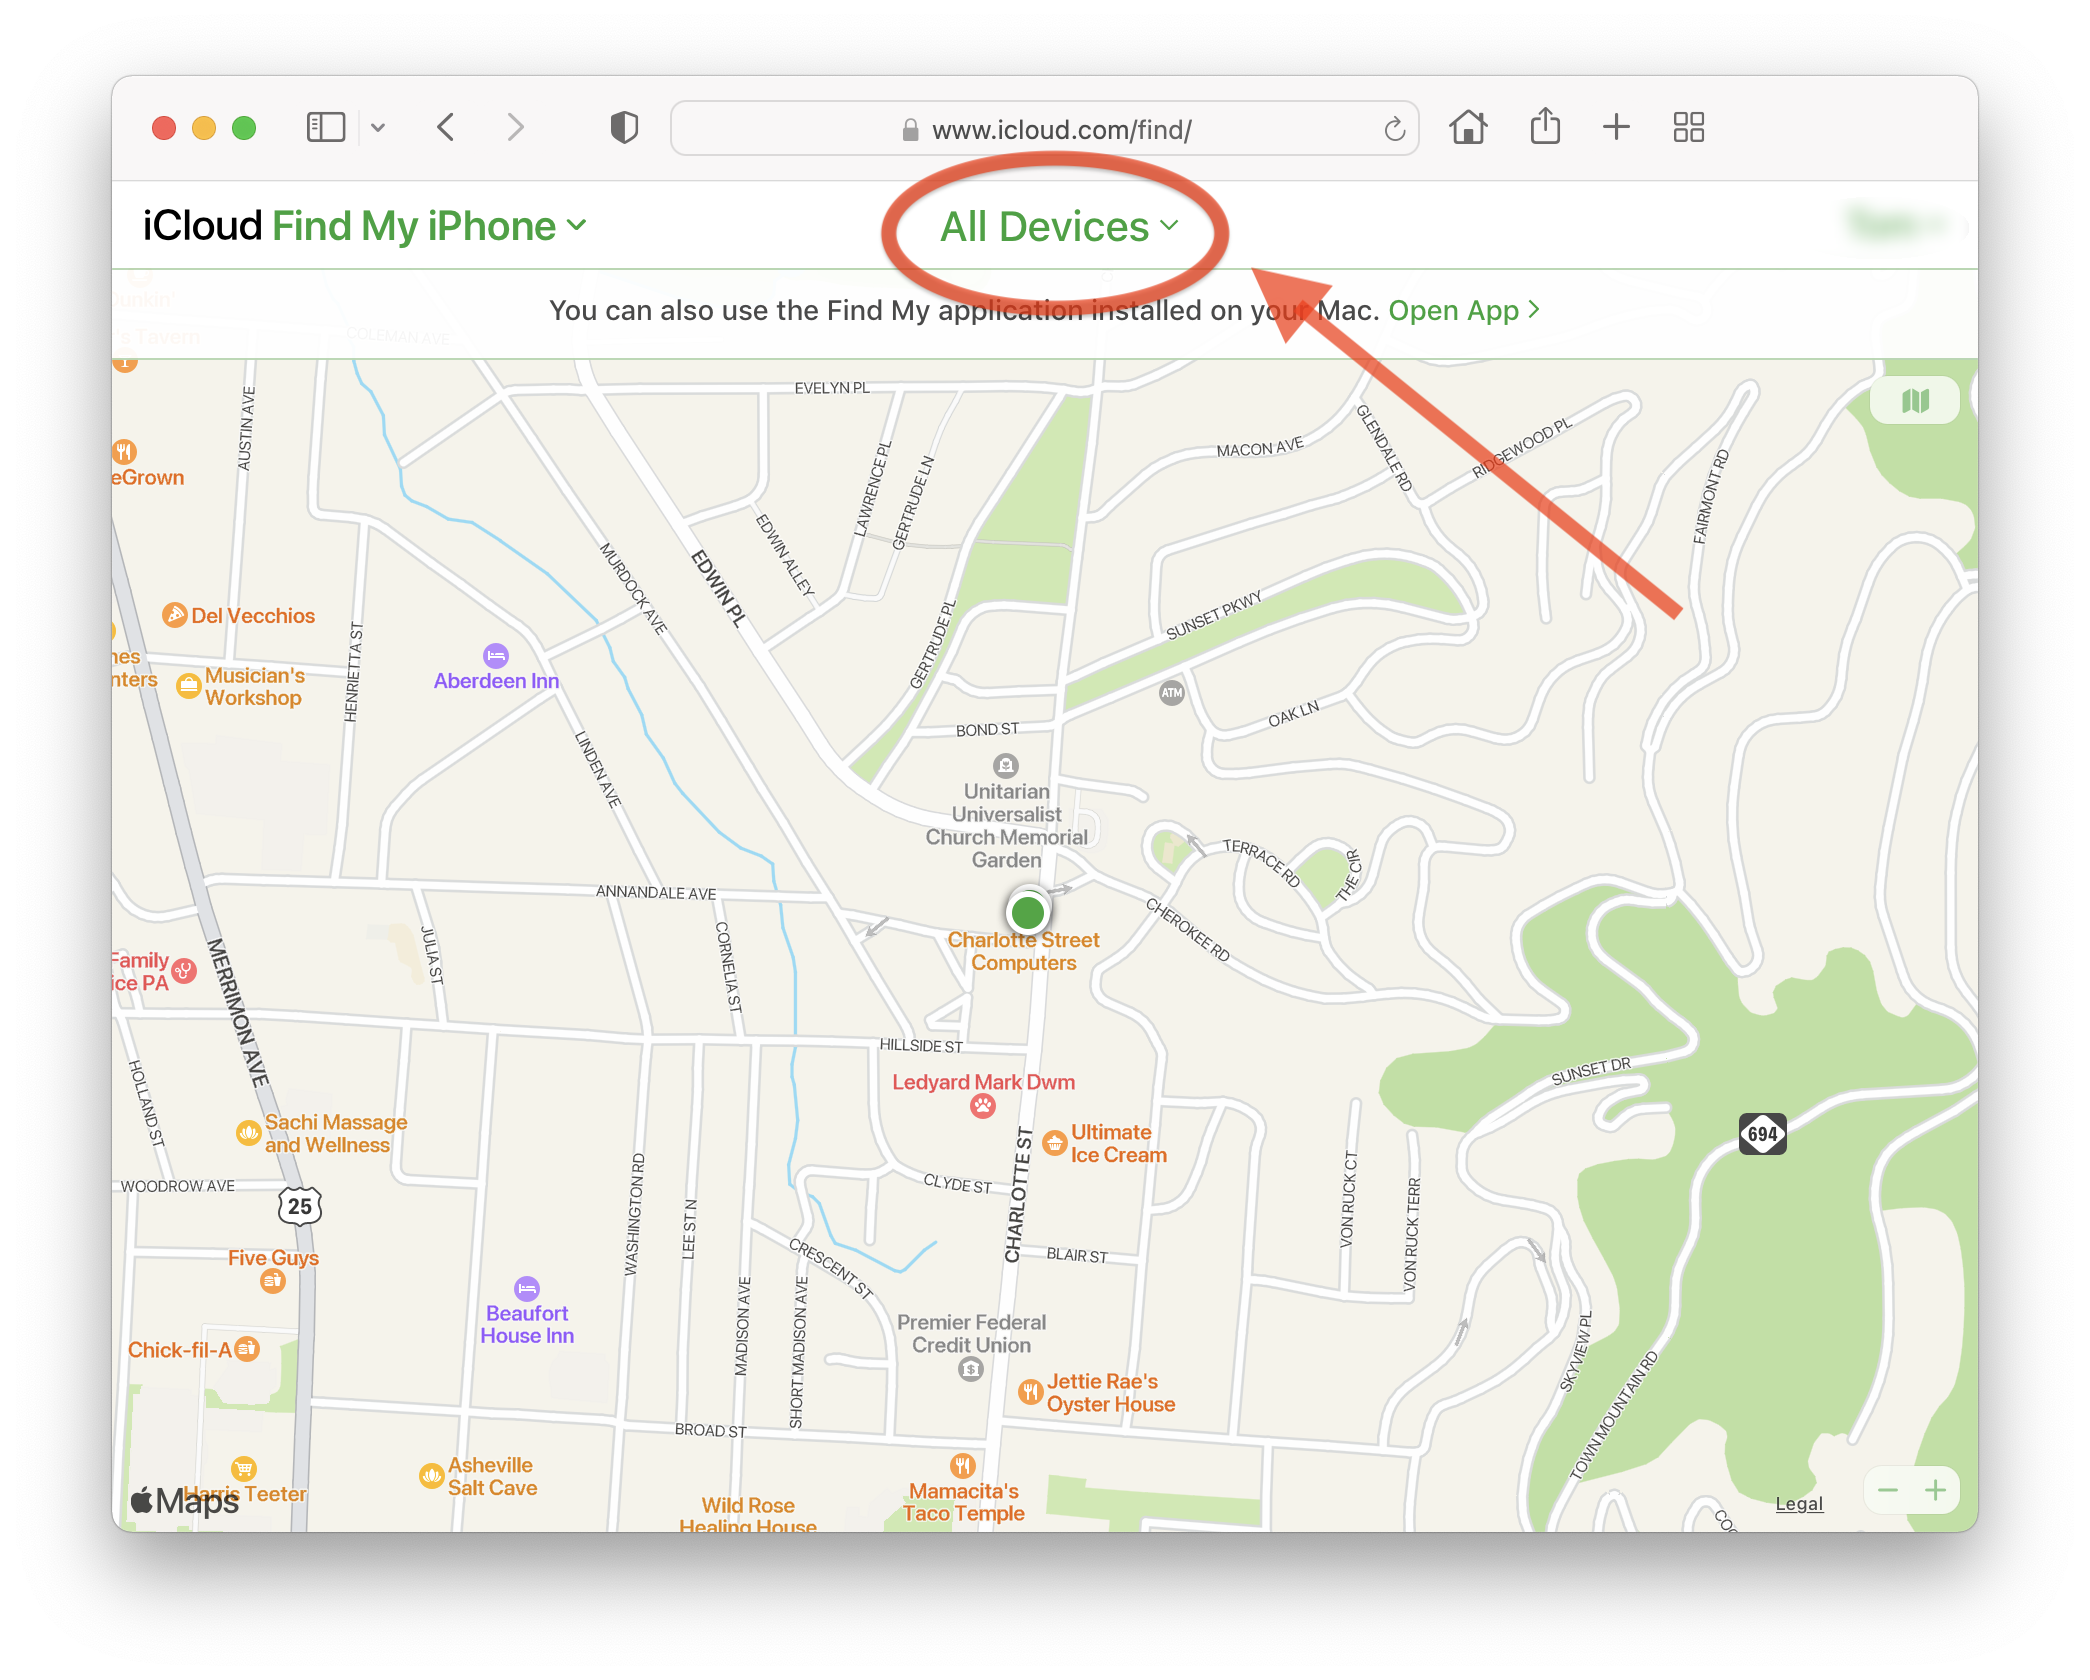
Click All Devices (Find My)
3) Click or Tap “All Devices” and select the device that needs to be serviced from the list.
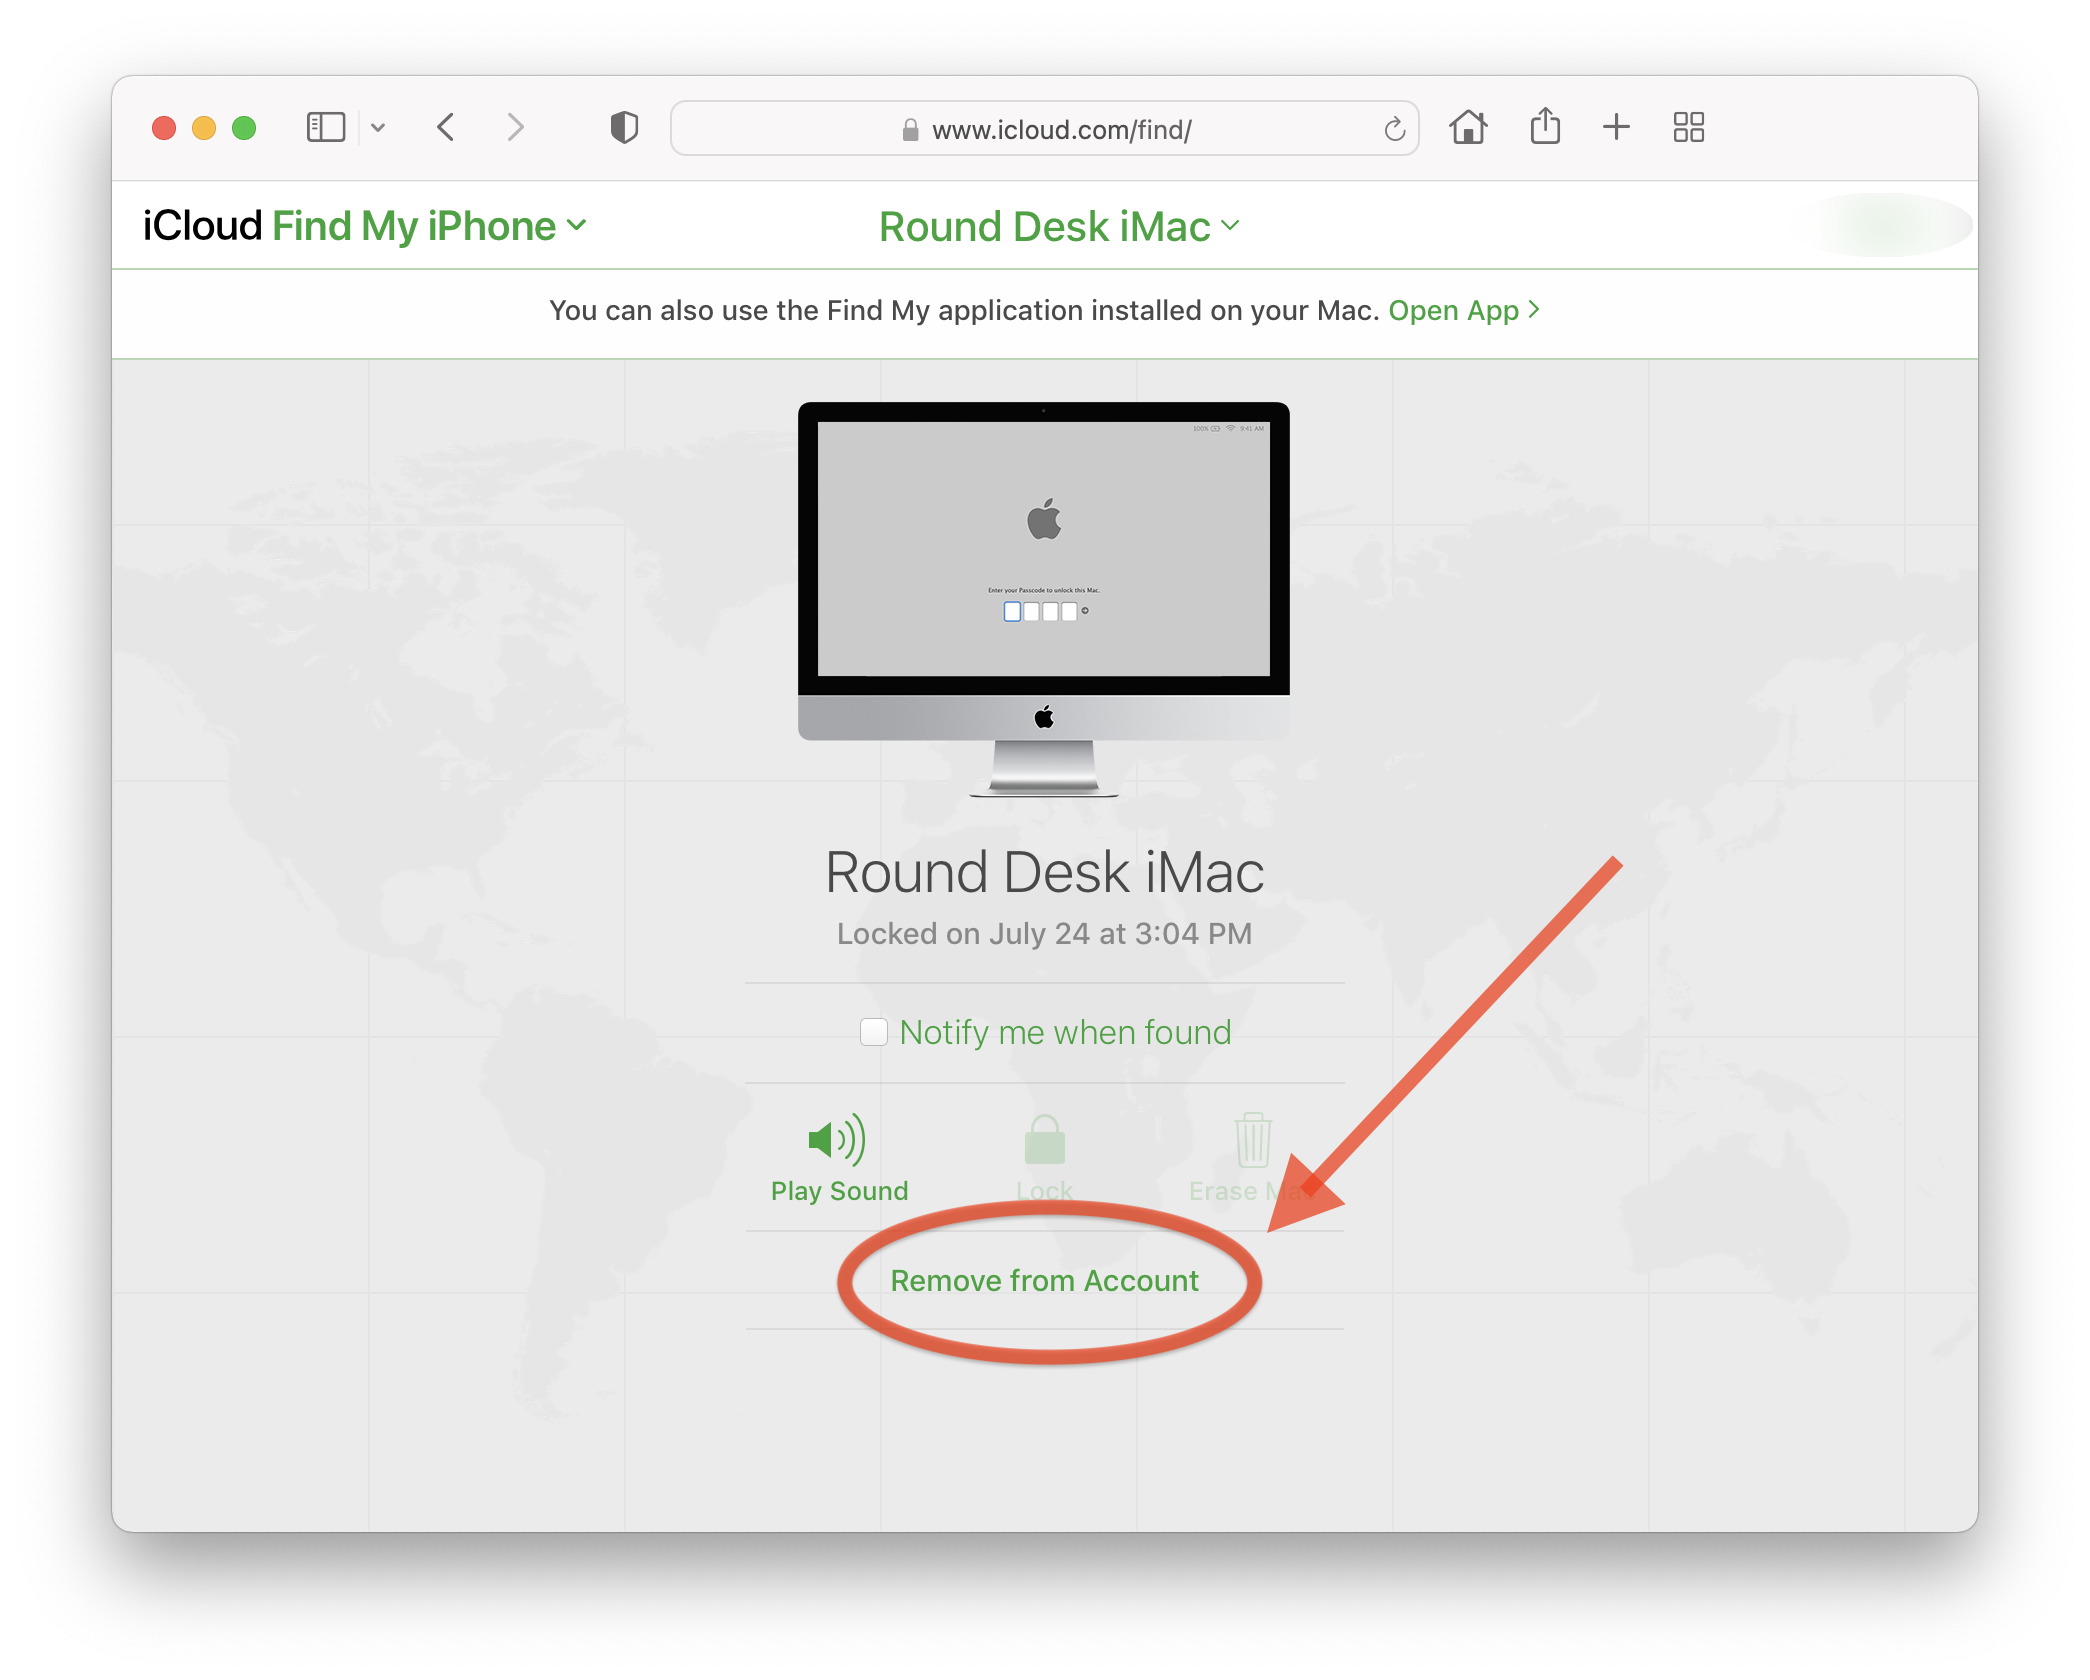
Remove Device from Account
4) Click or Tap “Remove from Account” at the bottom of the page. You can reactivate this feature in the Settings of your device when the repair is complete.
Method 3: Use the “Find My” App
iPhone or iPad
Find My Icon for Mac and iOS
1) On your iPhone or iPad locate the “Find My” App.
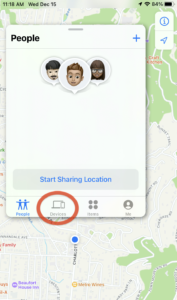
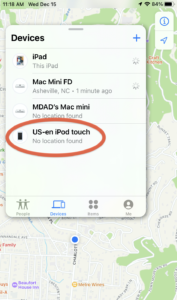
Click Devices at the bottom of the screen
2) Select “Devices” from the menu at the bottom
Select the device you are servicing
3) Choose the device being serviced.
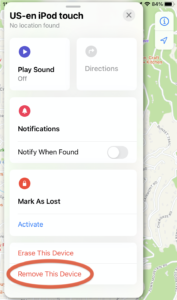
Remove this device from Find My
4) Select “Remove from Account”. You may have to scroll down to see this option).
Mac
Find My Icon for Mac and iOS
1) On your Mac locate the “Find My” App. It is usually located in the Applications Folder.
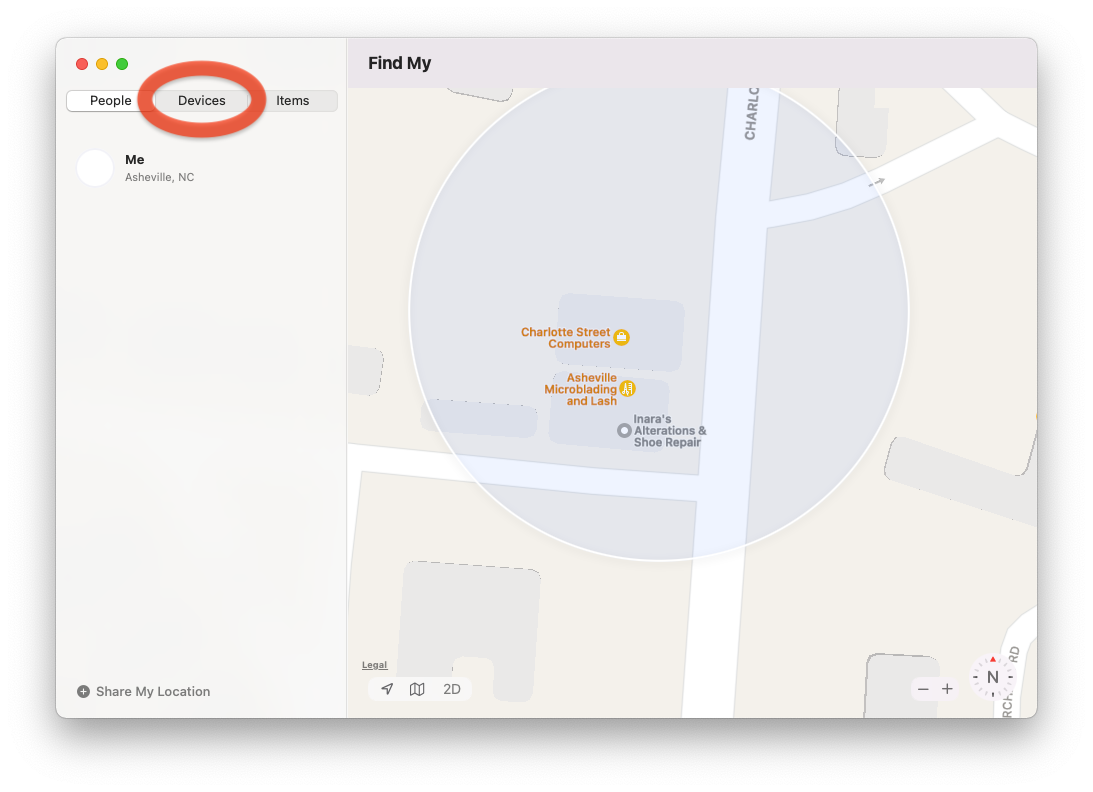
Click Devices at the Top Left of the screen
2) Select “Devices” from the menu at the top.
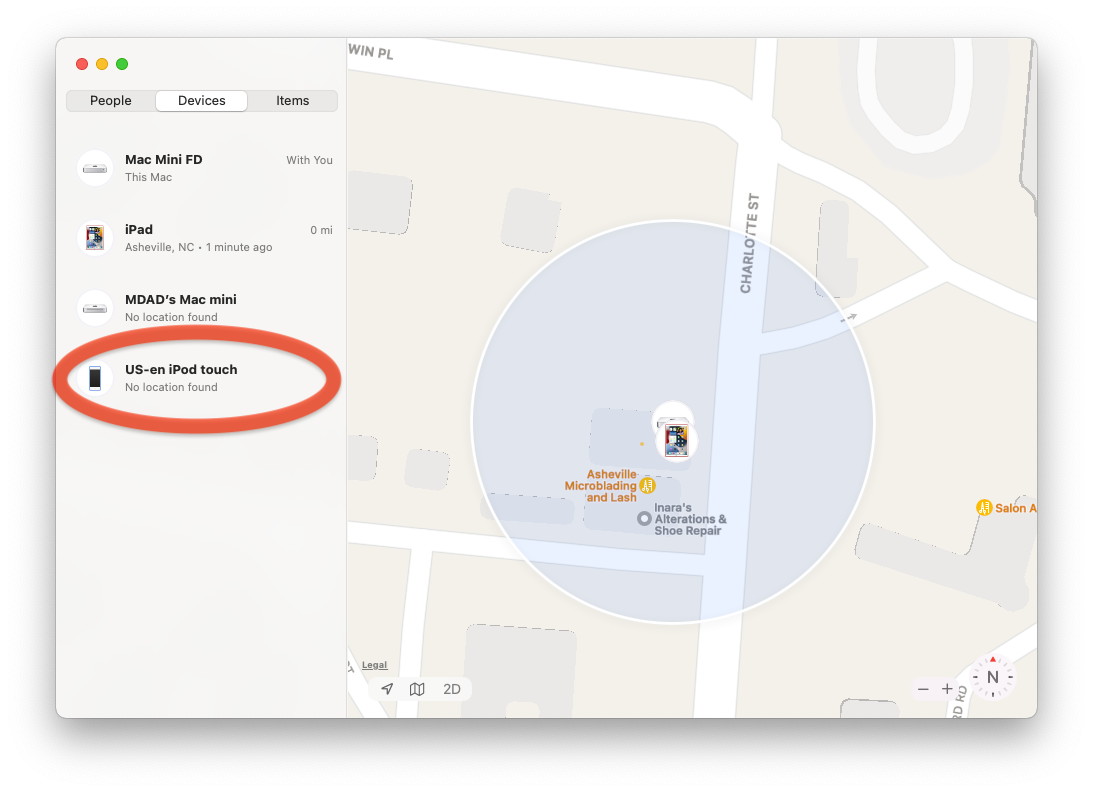
Clicke the device you have brought in for service
3) Choose the device being serviced.
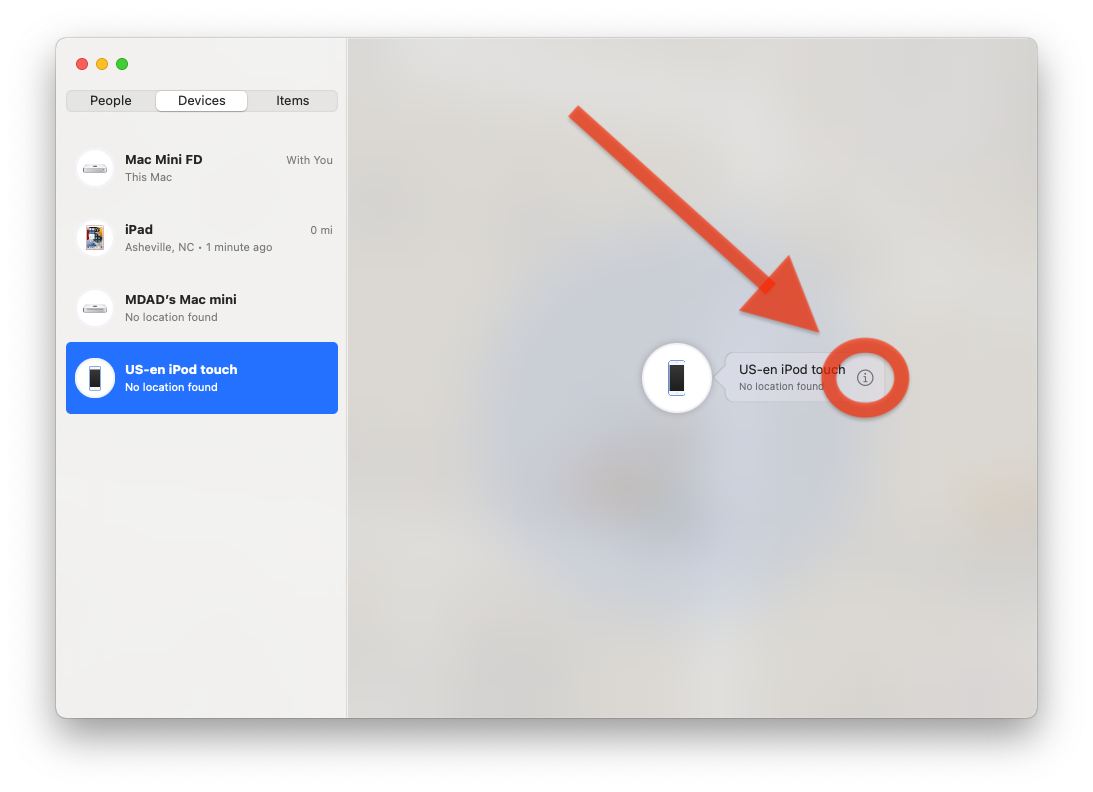
Click the "i" to the right of the device
4) Click the small “i” to the right of the device on the map.
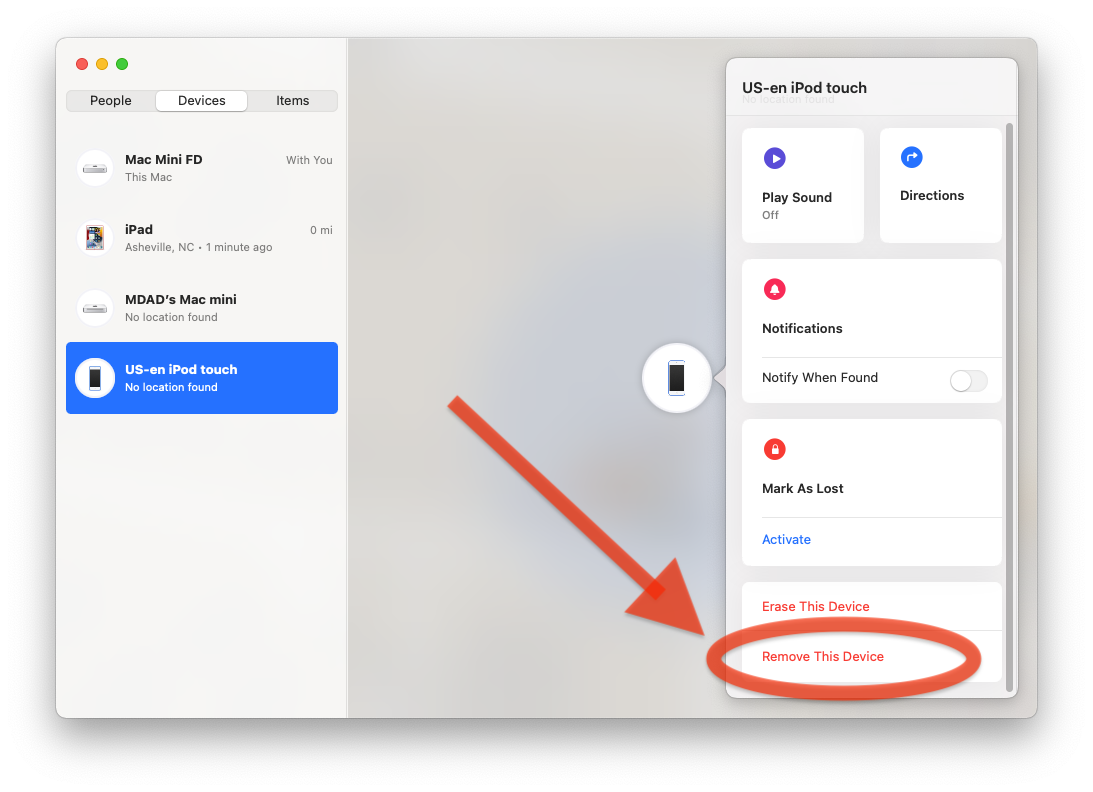
Click the "Remove This Device" selection at the bottom of the pop-up
5) Select “Remove from Account”. You may have to scroll down to see this option).
For more information, see Apple’s article HERE.